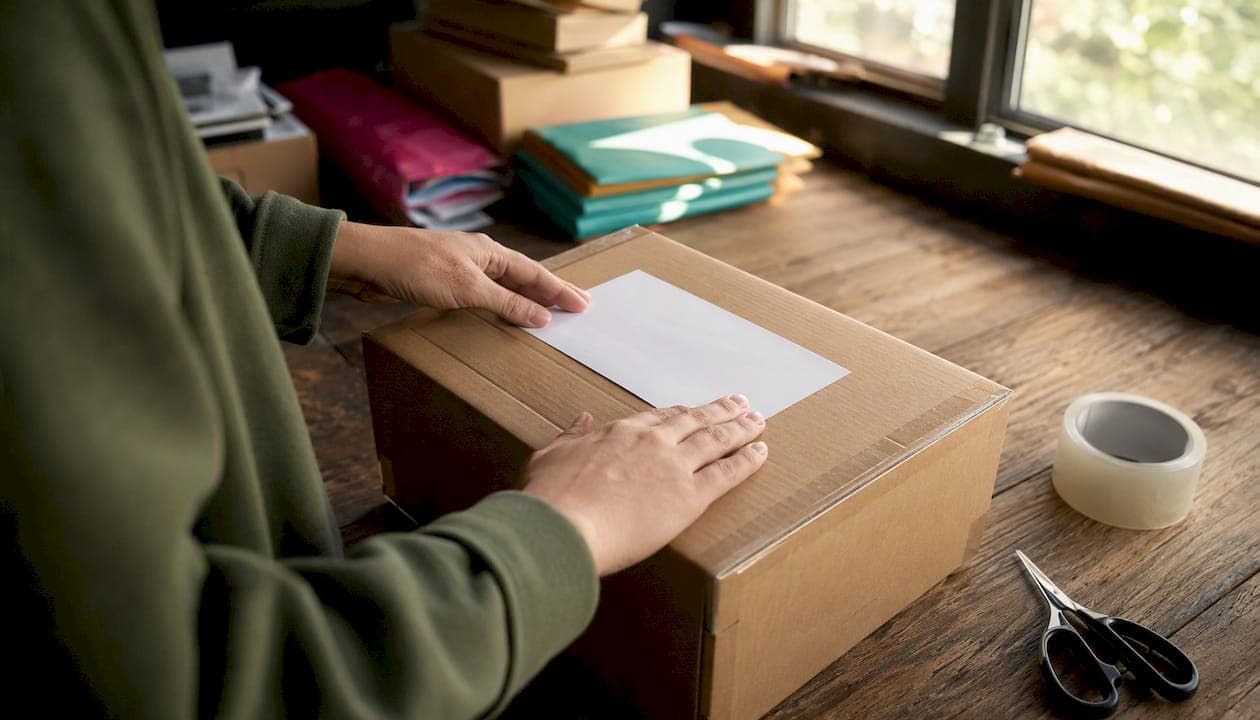
Place the label flat on the largest, flattest side of the package, parallel to its longest side, and secure it so the barcode is fully visible and undistorted. That single rule prevents the majority of misroutes and failed scans. Before you hand any parcel to a carrier, run through this quick checklist:
- Place the label on the largest flat surface, at least 1 inch from any edge or seam.
- Orient the barcode parallel to the package's longest side, per USPS placement guidance.
- Use a self-adhesive 4x6 thermal label when possible. If printing on plain paper, cover the full label face with clear packing tape, but never tape over a thermal print.
- Remove or fully cover any old labels so only one barcode is visible to scanners.
- Photograph the labeled package and save the tracking number before drop-off.
Key Takeaways
Attaching a shipping label correctly requires flat placement on the largest surface, proper orientation parallel to the longest side, and a secure adhesion method that keeps the barcode undistorted from packing station to delivery.
| Point | Details |
|---|---|
| Label placement | Place on the largest flat surface, at least 1 inch from edges and seams, parallel to the longest side. |
| Standard label size | The industry-standard size is 4x6 inches; print at 600 DPI or higher to reduce scanning errors. |
| Adhesion method | Self-adhesive thermal labels are most reliable; for plain paper, use clear packing tape over the full face. |
| Reused boxes | Fully cover or remove all old barcodes before applying a new label — scanners read the first barcode they find. |
| Simplyparcel | Automatically generates shipping labels and customs documents together when you book an international shipment. |
Table of Contents
- How do you attach a shipping label step by step?
- Where exactly does the label go on a box, tube, or envelope?
- How should you affix labels: adhesive, tape, or pouches?
- How do you prepare a package and safely reuse boxes?
- Special cases: international shipments, lithium batteries, and high-value items
- What does research say about label protection and adhesion?
- Common label mistakes and how to fix them fast
- A practical perspective on what actually saves time
- Simplyparcel makes international label generation straightforward
- Where to find the official carrier guidance
- Sources
How do you attach a shipping label step by step?
The workflow has five stages. Skipping any one of them is where most label problems start.
1. Buy or generate the label first. Shopify's fulfillment guidance is clear: you must purchase a shipping label and affix it to the packaging before giving the shipment to a carrier. For USPS, Click-N-Ship lets you buy and print at home or pick up a printed label at a post office. UPS lets you create, print, and reprint labels from your shipment history at any time.
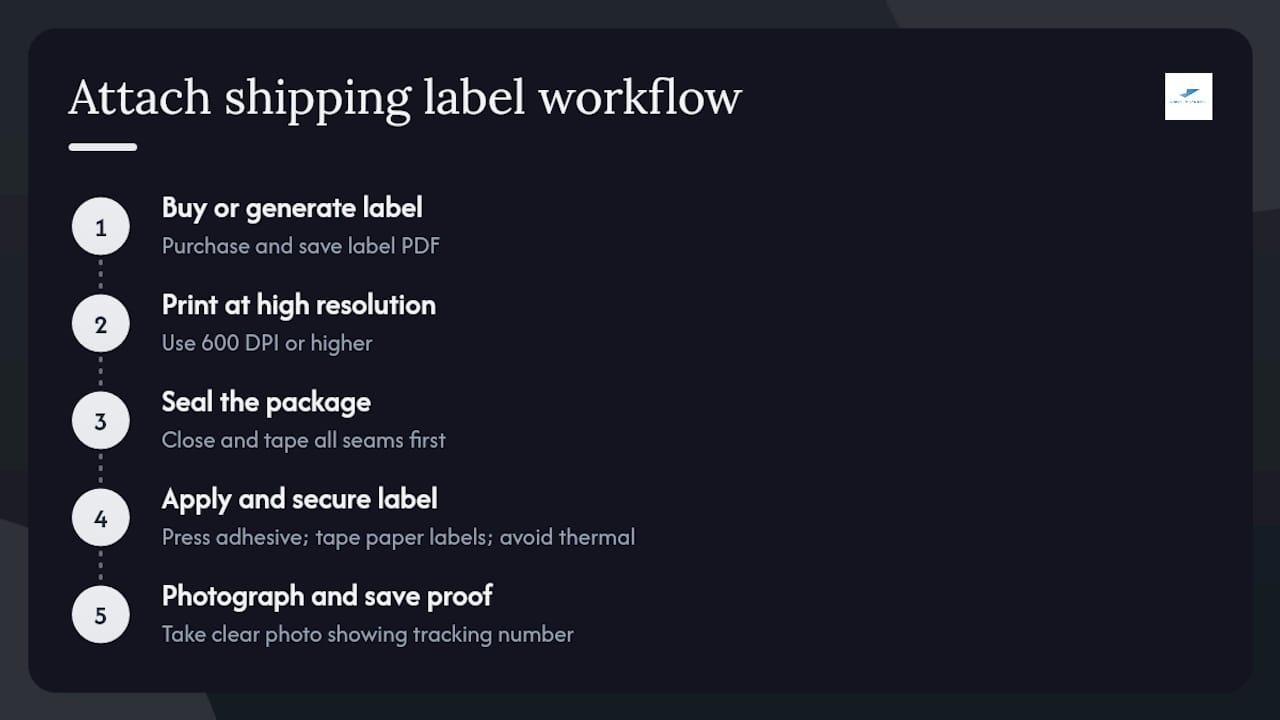
2. Print at the right resolution. For inkjet or laser printers, print at 600 DPI or higher. This reduces scanning errors caused by blurry barcode edges. For high-volume packing, a dedicated thermal label printer with 4x6 adhesive label stock is faster and more reliable than plain paper.
3. Seal the package before applying the label. Close and tape all seams first. Applying the label to an already-sealed box means no tape sealing lines will cross the barcode later.
4. Apply and secure the label. Press a self-adhesive label firmly onto a clean, dry surface. For plain-paper labels, lay clear packing tape smoothly over the entire face, pressing out any bubbles. Never tape over a thermal print.
5. Photograph and save proof. Take a clear photo of the labeled package with the tracking number visible. This single image resolves most delivery disputes quickly, without waiting for carrier investigations.
Pro Tip: If you use USPS Click-N-Ship or UPS's online portal, save the label PDF before printing. If the first print smears or misaligns, you can reprint immediately without repurchasing.
Where exactly does the label go on a box, tube, or envelope?
Placement rules exist because carrier sorting facilities use high-speed overhead and side scanners. A label on the wrong surface, or crossing a seam, can fail to scan entirely.
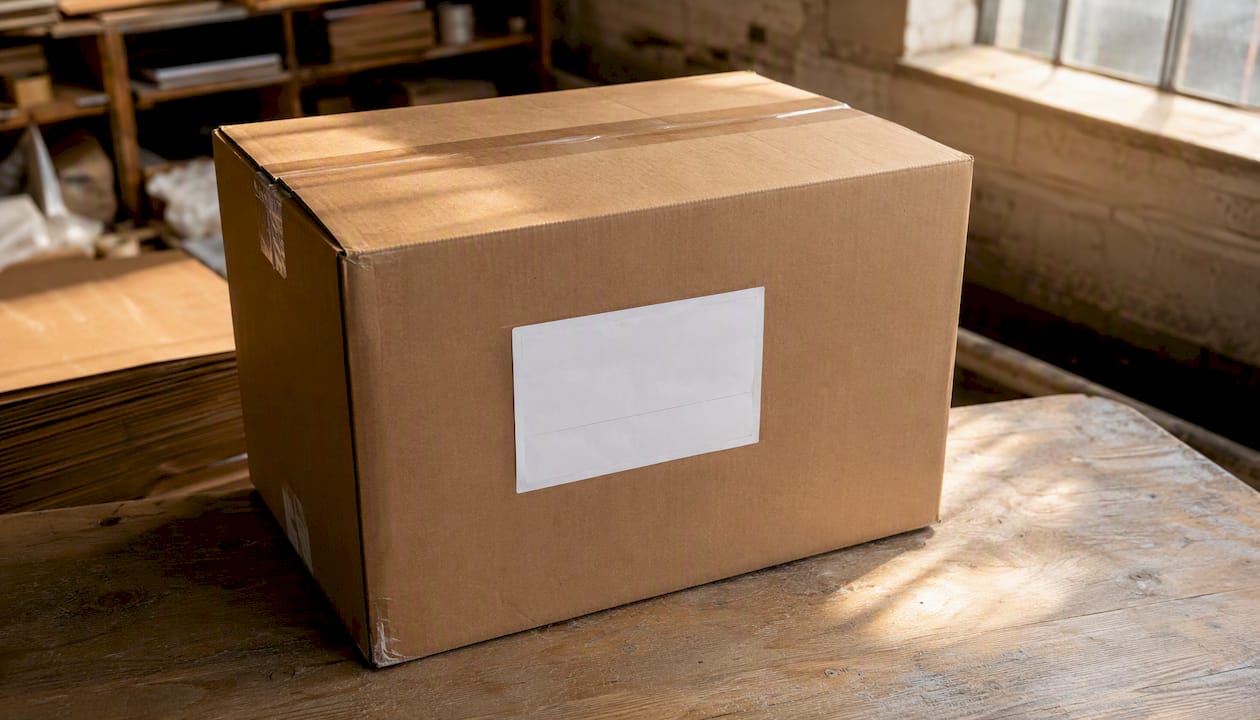
Boxes: Place the label on the largest flat face, squarely centered, at least 1 inch from every edge and away from all seams and flaps. Per USPS rules, put all labels on the same side and never bend, fold, or overlap them. Industry guidance from LegalClarity reinforces the 1-inch edge clearance and the flat-surface requirement.
Tubes and cylinders: Lay the label lengthwise along the tube so the barcode runs parallel to the tube's longest dimension. This keeps the barcode on the flattest possible arc and gives scanners the best read angle.
Envelopes and poly mailers: Center the label on the front face. Avoid placing it near the seal edge where the mailer might flex or fold in transit.
When the label is larger than any flat face: Keep the barcode area completely flat. You can allow non-barcode edges to wrap slightly, but if the barcode itself would curve, rebox the item or use a smaller label format.
| Package type | Label placement | Barcode orientation |
|---|---|---|
| Standard box | Largest flat face, 1 inch from edges | Parallel to longest side |
| Tube or cylinder | Lengthwise along tube | Parallel to tube's longest axis |
| Envelope or poly mailer | Front face, centered | Parallel to longest side |
| Irregular or oversized | Flattest available surface | Keep barcode area uncurved |
- Never place a label on a seam, flap, or corner.
- Never split a label across two faces.
- All labels and markings go on the same side of the package.
How should you affix labels: adhesive, tape, or pouches?
The method you use to secure a label affects whether it stays readable through sorting, weather, and handling.
Self-adhesive thermal 4x6 labels are the most reliable option for regular shippers. They bond directly to the box surface, require no tape, and produce a clean barcode edge. For anyone shipping more than a few parcels a week, automating label printing with a thermal printer pays off quickly.
Plain-paper labels (laser or inkjet) work fine when taped correctly. Apply clear packing tape over the entire label face in smooth, overlapping strips. Press out every bubble. USPS explicitly allows this method for non-thermal prints. The critical exception: never apply standard clear packing tape over a thermal label. The tape's adhesive can chemically react with the heat-sensitive coating, causing smearing or fading that makes the barcode unreadable.
Clear adhesive label pouches are the safest option for thermal labels that need weather protection. Slide the label in, seal the pouch, and press it onto the box. No tape touches the print surface.
- Avoid opaque tape, frosted tape, or duct tape over barcodes. All three create glare or texture that blocks scanner reads.
- Avoid placing labels inside zip-lock bags taped to the outside. Bags can crease, trap condensation, or snag on conveyor belts.
- When taping a plain-paper label, run strips around the perimeter first, then one strip across the middle. Press firmly and remove all bubbles before the package moves.
For shipments involving hazardous materials, dangerous goods labels follow their own placement rules and must remain fully visible alongside the shipping label.
How do you prepare a package and safely reuse boxes?
Seal the box completely before touching the label. Every seam should be taped shut so no tape lines will cross the barcode area when you apply it.
Reused boxes are one of the most common sources of misroutes. Automated sorters read the first valid barcode they encounter. An old barcode left visible on a reused box can send the package to the wrong address entirely. Remove old labels cleanly with a box cutter or adhesive remover, or cover them completely with opaque packing tape so no part of the old barcode shows through. Partial coverage is not enough.
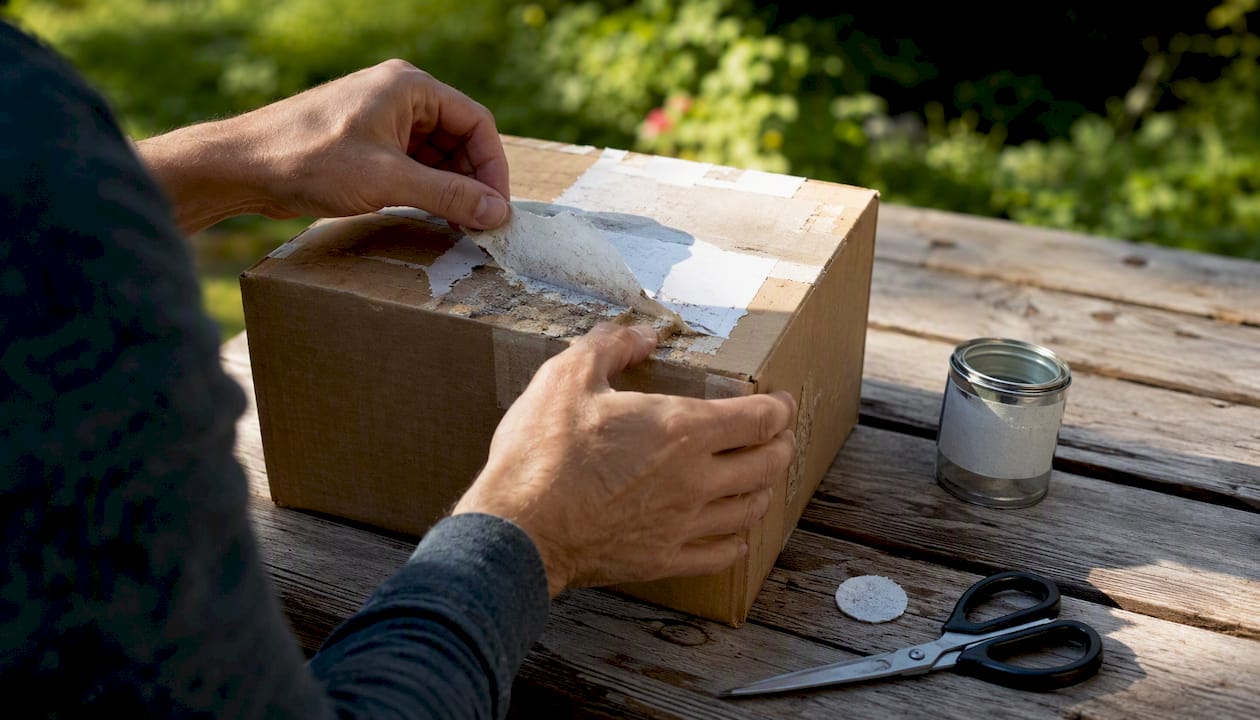
The surface where you apply the new label should be clean and dry. Rough, damp, or glossy surfaces reduce adhesion. If the surface is uneven or the box has been compressed, use a label pouch rather than pressing a self-adhesive label directly onto a compromised surface.
If the box itself is weakened from a previous shipment, rebox the contents. A crushed or soft box can distort the label face in transit, which causes scanning failures even when the label was applied correctly.
Pro Tip: Keep a roll of opaque kraft tape at your packing station specifically for covering old barcodes. Clear tape over an old barcode is not sufficient — scanners can still read through it.
Special cases: international shipments, lithium batteries, and high-value items
Standard domestic label rules apply to all shipments, but several categories require additional markings placed in specific positions.
International shipments: Customs documentation (USPS PS Form 2976 or 2976-A when required) goes in a clear pouch taped to the same face as the shipping label. Keeping both on the same face speeds customs processing. Always tuck a second copy of the customs documents inside the box as a backup. For a full breakdown of what international labels must include, the international parcel labeling guide covers required fields and placement in detail.
Lithium batteries (UN3480 for standalone cells, UN3481 for batteries in equipment): Hazard labels must appear close to the shipping label so handlers see both together. The shipping barcode must remain unobstructed. Place hazard markings on the same face, adjacent to the shipping label, never over it.
High-value or fragile items: Add "Fragile" or handling marks near the shipping label, not covering it. Include a packing slip inside the box. The exterior label face should carry only the shipping label and any required markings, all on the same side.
When multiple required markings apply to one package, the rule is consistent: keep the shipping barcode clear and place all other markings on the same face, nearby but not overlapping.
USPS DMM guidance on product markings specifies size, placement, and service indicators for specific mail classes including Priority Mail and Ground Advantage. Service indicators must appear on the label itself and cannot be handwritten separately.
What does research say about label protection and adhesion?
Carrier placement rules are not arbitrary. High-speed sorting facilities use overhead and side-mounted scanners that read barcodes in fractions of a second. A label that is curved, wrinkled, or oriented at an angle to the package's longest side can fail that read and require manual handling, which adds time and increases the chance of misrouting.
The industry-standard label size is 4x6 inches, and printing at 600 DPI or higher reduces scanning errors for inkjet and laser labels. Thermal labels printed at native resolution typically exceed this threshold automatically.
Temperature affects adhesion in ways most shippers overlook. General-purpose label adhesives can fail below freezing. If you are shipping to cold climates or applying labels in an unheated warehouse in winter, freezer-grade label stock exists specifically for these conditions.
Common label mistakes and how to fix them fast
Most label failures fall into four categories, and all of them are fixable before drop-off.
- Barcode won't scan: Check for wrinkles, tape glare, low print resolution, or smearing. Reprint at 600 DPI and reapply on a flat, clean surface. Do not try to flatten a wrinkled label already on the box.
- Wrong tape choice: Duct tape and frosted tape create surface texture and glare that block scanner reads. Replace with standard clear packing tape applied smoothly.
- Multiple barcodes visible: Cover old barcodes completely with opaque tape or remove them. If you cannot cover them reliably, rebox the item.
- Damaged label at drop-off: Ask for a carrier reprint at the counter (available at USPS, UPS, and FedEx locations) or reprint via your label service and reapply before handing over the parcel.
For reused boxes specifically, the shipping label requirements checklist covers the most common compliance mistakes and how to correct them before a package enters the carrier network.
A practical perspective on what actually saves time
The shippers who avoid re-shipping costs are almost always the ones who batch their work. Print all labels for the day at once, lay them out on a clean surface, and seal all boxes before applying any labels. This prevents the common error of sealing a box over a label you already placed.
Keep a small kit at your packing station: spare 4x6 label stock, clear packing tape, label pouches, opaque tape for old barcodes, and a phone or camera to photograph finished packages. That photograph with the tracking number visible is the fastest way to resolve a delivery dispute, often without needing to contact the carrier at all.
When reusing boxes, always mask old labels before applying the new one. Automated systems read the first barcode they see. One missed old barcode can route a package across the country in the wrong direction, and by the time the error surfaces, the package is already in transit.
Simplyparcel makes international label generation straightforward
Attaching a label correctly is half the job. Generating the right label for an international shipment, with accurate customs documentation, is where many small shippers lose time. Simplyparcel handles that automatically: when you book a shipment through the platform, it generates your shipping label and customs documents together, formatted for your chosen courier partner. You print, you apply, you ship. No manual form-filling, no mismatched documentation. For individual senders and small businesses shipping internationally from Singapore, that means fewer delays at customs and a clear record of every shipment in one place. Get an instant quote and generate your label at Simplyparcel.
Where to find the official carrier guidance
- USPS: How to Prepare & Send a Package covers placement rules, orientation, and taping guidance. Click-N-Ship is the portal for buying and printing domestic and international labels online.
- UPS: Create and Print Shipping Labels explains how to generate labels online and reprint from shipment history.
- Shopify sellers: The Shopify shipping label guide explains the label-before-drop-off workflow and fulfillment best practices.
- International shipments: The international parcel labeling guide and the shipping documentation process guide cover customs form placement and required fields.
- Dangerous goods: Dangerous goods label placement rules explain how to position hazard markings alongside shipping labels for items like lithium batteries.
- USPS DMM: Postal Explorer DMM excerpts detail service indicators and product markings for specific mail classes.
Sources
- How to Prepare & Send a Package | USPS
- Online Shipping with Click-N-Ship | USPS
- Understanding shipping labels | Shopify Help Center
- Where does a shipping label go on a box? Placement tips | LegalClarity
- Create and Print Shipping Labels | UPS