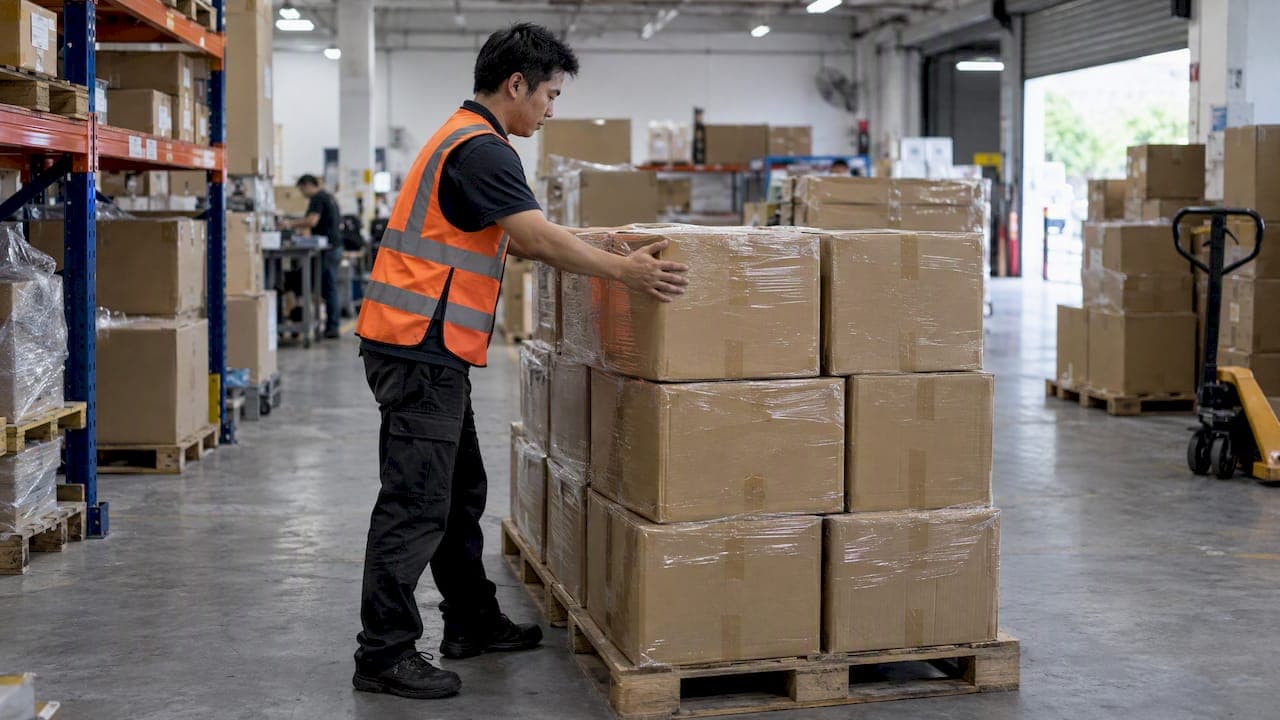
Start your shipment with the Send to Amazon (STA) workflow in Seller Central, then prep, label, and pack according to Amazon's specs before anything leaves your door. Three things matter most at this stage: correct barcodes and labels, secure packaging, and accurate box contents. From there, pick your shipping mode, small parcel delivery, LTL, or FTL, based on your order size, and you're ready to ship.
TL;DR:
- Many products require an FNSKU instead of a manufacturer barcode; print labels in black, nonreflective ink at 300 DPI and keep them unobstructed.
- Amazon’s usual limits are 50 pounds and 36 inches on the longest side; verify box contents against packing lists and cushion fragile goods.
- Choose small parcel delivery for a few boxes, LTL for pallets, or FTL when volume warrants a dedicated trailer; partnered carriers integrate tracking.
- Accepting Amazon’s split routing across multiple fulfillment centers can avoid per unit inbound placement fees, while single location delivery may trigger them.
- International sellers should match commercial invoices, HS codes, declared values, and shipment fields, since customs paperwork mismatches can hold inventory.
Table of Contents
- What FBA does and how the Send to Amazon workflow works
- Preparing inventory: barcodes, labels, and packaging checklist
- Step-by-step: create your shipment in Seller Central using Send to Amazon
- Choosing shipping mode and carriers: SPD vs LTL vs FTL
- Costs and helpful programs: fulfillment, storage, and inbound placement
- Simply Parcel tips for international sellers: labels, booking, and customs
- Author checklist and final quick guidance from SP
- Simply Parcel: how we help sellers prepare and ship FBA inventory
- FAQ
- Sources
What FBA does and how the Send to Amazon workflow works
Fulfillment by Amazon stores your inventory, picks and packs each order, ships it, and handles customer returns, which also qualifies your listings for Prime shipping badges. Getting your stock into Amazon's network starts with Send to Amazon, the current workflow in Seller Central, found under Inventory > Manage FBA Shipments > Send to Amazon.
The process runs through six steps: select your inventory and set quantities, prepare your products, label them, review your shipment details, choose a shipping method, and track the shipment until it's received. This step-by-step process guides you through selecting inventory, preparing products, labeling, reviewing, choosing a shipping method, and tracking inbound status from a single dashboard. STA replaced older shipment-creation flows, and Amazon now requires it for all new inbound shipments, so there's no alternate path to skip the prep steps.

Preparing inventory: barcodes, labels, and packaging checklist
Before anything ships, your products need the right barcode. Amazon accepts your manufacturer's UPC or EAN for some items, but most sellers end up using an FNSKU label, Amazon's own tracking barcode, especially if you're enrolled in Brand Registry or Transparency. When a product already carries a UPC, you'll generally need to cover it so scanners read the FNSKU instead of pulling up a mismatched listing.
Label specs matter more than most new sellers expect. Amazon's guidance calls for labels printed in black, non-reflective ink at 300 DPI on a laser printer, sized roughly 1 to 2 inches by 2 to 3 inches, placed flat on the item's surface where a scanner can read it without obstruction.
Packaging requirements depend on the product itself: See options for packaging and box products that meet requirements for secure prep and retail-ready presentation.
- Loose products with sharp edges or liquids often need poly bagging, and bags over a certain size require a suffocation warning printed on them.
- Fragile items need bubble wrap or equivalent cushioning so they survive handling at the fulfillment center.
- Sets and multi-packs must be marked clearly as a single sellable unit so staff don't separate them.
- Case-packed items follow different labeling rules than individual units, so check which category your shipment falls under before printing anything.
Before you seal a box, confirm the labels scan cleanly, the adhesive holds under normal handling, and the box stays under Amazon's weight and size limits, generally 50 pounds and 36 inches on the longest side unless your product qualifies for an exception. Double-check that your packing list matches what's actually inside; mismatched contents are one of the most common reasons shipments stall at check-in.
Pro Tip: Print a few extra labels before you start packing so a smudged or misaligned one doesn't stop you mid-box.
Step-by-step: create your shipment in Seller Central using Send to Amazon
Each STA screen builds on the last, so working through them in order keeps your shipment on track.
- Select inventory and quantities. Choose the SKUs you're sending and watch for any flags Amazon raises, like missing dimensions or restricted-category warnings.
- Prepare products. Decide whether you'll handle prep yourself or let Amazon do it. Merchant prep is usually cheaper upfront, but Amazon prep can save time if you're shipping a large batch and want to avoid rejection risk.
- Label products. You can print and apply labels yourself or use Amazon's Label Service for a per-unit fee, often worth it for your first few shipments while you're still learning the specs.
- Review shipments. Amazon may split your inventory across multiple fulfillment centers based on its routing logic. Once you approve the shipment, print your packing lists.
- Choose shipping method. Enter accurate box dimensions and weights, then print your box and pallet labels before you seal anything.
- Track inbound status. Monitor your shipment until it shows as Received. Check-in times can stretch longer during peak shopping seasons, so build in extra buffer if you're shipping close to a sales event.
Choosing shipping mode and carriers: SPD vs LTL vs FTL
Your order size determines your shipping mode. Small parcel delivery (SPD) suits shipments of a few boxes sent through standard carriers. Less-than-truckload (LTL) fits palletized shipments that don't fill an entire truck, while full truckload (FTL) makes sense once your volume justifies booking a dedicated trailer.
Amazon's Partner Carrier program covers SPD, LTL, FTL, and intermodal shipments, giving you discounted rates and tracking that's automated directly into Seller Central, which removes a layer of manual reconciliation.
A few practical points as you decide:
- Pallets generally need to meet Amazon's height and weight limits, along with a bill of lading (BOL) for freight shipments.
- Partnered carriers through STA handle pickup scheduling automatically, while non-partnered carriers require you to arrange pickup yourself.
- Tracking integrated into Seller Central is simplest for sellers managing their first few shipments, since you're not juggling a separate carrier portal.
If you're new to FBA, starting with a partnered carrier removes a lot of the guesswork around pickup timing and rate comparison.
Costs and helpful programs: fulfillment, storage, and inbound placement
Two charges make up most of your ongoing FBA costs: fulfillment fees for picking, packing, and shipping each order, and monthly storage fees, which are charged by cubic foot and vary by season. Amazon also applies inbound placement service fees depending on your routing choice. Sending everything to a single Amazon-managed location can trigger a per-unit placement fee, while accepting Amazon's optimized split across multiple fulfillment centers can avoid it, though you'll be shipping to more than one destination.
The FBA New Selection program offers free monthly storage and waived return processing for a limited period on eligible items new to FBA, which can soften your early costs. Before committing to a shipment plan, run your numbers through Amazon's Revenue Calculator to see per-unit economics before you commit inventory.

Simply Parcel tips for international sellers: labels, booking, and customs
When you're shipping into FBA from outside the US, a few habits save real time. Automating your label generation with accurate weight and dimension data cuts down on mismatches that cause delays at check-in. We help you book pickups and choose between shipping service levels depending on how soon your inventory needs to land, and our Shopify integration shows how automated labels fit into a regular shipping routine. Make sure your customs paperwork, commercial invoice, HS codes, and declared value, match what you entered in your STA shipment fields, since mismatches are a common cause of customs holds.
Pro Tip: If prep and labeling feel like too much on top of international paperwork, a prep partner can absorb that workload while you focus on sourcing and listings.
Author checklist and final quick guidance from SP
Before you ship, run through this six-item checklist: create your STA shipment, label every unit correctly, pack boxes and record accurate weights and dimensions, enter precise box contents, choose SPD, LTL, or a partnered carrier based on your volume, and print and affix your box and pallet labels before sealing anything. Once your shipment is on its way, check back in Seller Central until the status reads Received, since that confirmation is your signal that inventory is live and sellable.
— SP
Simply Parcel: how we help sellers prepare and ship FBA inventory
We handle the pieces that slow sellers down most: booking pickups, generating shipping labels, and giving you options for different shipping speeds depending on how fast your inventory needs to reach a fulfillment center.

- We book your pickup from your doorstep, so you skip the drop-off trip.
- Our label automation pulls your weight and dimension data to reduce mismatches at check-in.
- Multiple speed options let you balance cost against how soon your stock needs to land.
- Real-time tracking keeps your shipment visible from pickup through delivery.
These services map directly onto the checklist above, cutting the admin load so you can focus on sourcing and listings. If you're ready to arrange your next shipment, get a shipping quote and compare your options in a few minutes.
FAQ
How do I start an FBA business on Amazon?
You start by creating a Seller Central account, selecting products to sell, and setting up your first shipment through the Send to Amazon workflow. From there, you prep, label, and pack your inventory according to Amazon's specs before choosing a shipping method.
What does FBA stand for in the context of shipping?
FBA stands for Fulfillment by Amazon, the program where Amazon stores your inventory, then picks, packs, and ships orders on your behalf. It also handles customer returns for enrolled products.
Is FBA considered ecommerce?
Yes, FBA is a fulfillment model used within ecommerce, specifically for sellers listing products on Amazon's marketplace. It handles the logistics side while you manage sourcing, listings, and pricing.
How does Amazon charge the FBA fee?
Amazon charges fulfillment fees per unit for picking, packing, and shipping each order, along with monthly storage fees based on cubic footage that vary by season. Inbound placement fees may also apply depending on how you route your shipment across fulfillment centers.
What should I check before shipping to an Amazon warehouse?
Confirm your barcodes and labels scan correctly, your box contents match your packing list exactly, and your boxes fall within Amazon's weight and size limits. These checks prevent the delays and unplanned fees that come with rejected or mislabeled shipments.
Sources
- Shipping to Amazon FBA: Step-by-Step Guide for Sellers
- FBA prep, packaging, and labeling: A beginners guide - Sell on Amazon